I spend a lot of time at my desk, whether it's actually doing my job, sitting in meetings or doing something else interesting. As a result, I want fast internet. Additionally, my server is also sat on my desk, so faster internet benefits me and anyone else who uses the services hosted on it.
Unfortunately, the router is in a different room (a cupboard, in fact), so for the last little while my desk has been running over powerline. There's a switch on my desk, so at least I get full-speed to the server, but that's a little selfish. Powerline has worked fine for a while, and I intentionally bought a decent kit, but the "2000mb/s" on the box is a complete lie. In reality, it tops out around 250MB/s, which is still pretty good for "squirting internet down the ground pin".
But, I pay a silly amount to my ISP for gigabit download (with 150 up) - I don't want to be bottle-necked inside my own house! Not to mention that powerline negatively impacts not only the bandwidth but the latency, reducing the snappiness of almost everything. So after a while, I said "enough is enough" (not quite out loud), and decided it's time to run a cable. In an ideal world, this would be a blog post on how to properly cut holes in the wall and run trunking, but this is a rental, so it's got to be done the boring way.
#Planning
As with all things in life, planning is everything. There's 3 main components to this project:
#Route
The first step, is working out where the cable needs to go. The router is in a cupboard on the other side of a hallway to my home office. In a ideal world, I'd stick some conduit in the wall, taking the shortest path, and call it quits. But there's a problem: I rent this place, and the landlords won't take kindly to having large holes in their walls (fairly reasonable, IMO), even if it's done nicely and increases the value. So we're going the old-fashioned, long way - around every surface between the router and my desk.
With the router being in a cupboard, and the office having a door, there are a few doors to traverse. Fortunately for me, the shut lines on these doors are quite poor, and some cables will fit through just fine (more on that later). The cupboard has double-doors, one of which we never open, so once the cable is through, there's little risk of wear.
With the route, I had 2 options: Take the shortest route, with the cable running across the wall, or the much longer route of running up and down doorframes. The former requires much less cable, but doesn't look as nice, and definitely loses on the SO (Significant Other) approval factor. For those reasons, I decided to go the long way.
Using a mixture of some paracord and a tape measure, I worked out the run was just under 14 metres (around 45 feet freedom units). Not very far, and no where near an issue for ethernet, but quite a few 90-degree turns and long straights. The route is entirely over skirting boards or around door frames, which helps with both the visual appeal, and reducing potential damage to the wall surface.
#Cable
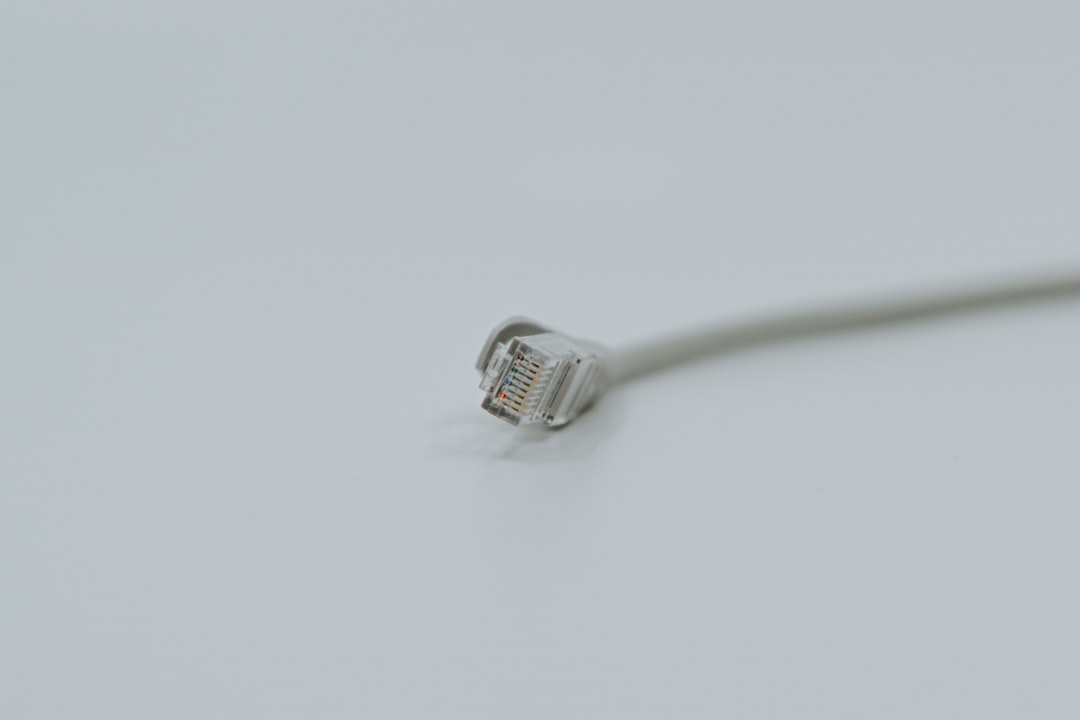
Of course, to connect the router to the switch on my desk, I need a cable. More specifically, an ethernet cable.
To make the run more aesthetically pleasing, I opted for a flat cable. Flat cables are easier to hide and look a bit nicer, but are much harder to bend around corners (not all corners). They aren't quite as strong as regular cables, but this cable won't be moving much, and only really goes through 1 door.
As I can actually utilize a gigabit connection, I'll want at least a Cat 5E cable (the first standard rated for gigabit). If you're going to run cable, particularly in a permanent installation, you might as well over-provision to avoid the need to re-run the cables in future. In my case, the installation is definitely temporary, but the cable might come in handy for future projects. Finding Cat 5E cables on Amazon was surprisingly difficult (I didn't need it on a spool), as everyone wanted to sell me far fancier cables. There's no way I need a Cat8 cable, but it's what I got. But hey, if I need 40 gigabit, then I have a cable rated for it.
There were a few other cables around the price in the Cat 7 tier, but I intentionally wanted one with better shielding. A long run like this isn't much for a network cable like this, but more shielding can't hurt. A little more shielding will also help a little in the case the cable does get knocked or shut in a door.
My route is split into 2 main parts, with a door in the middle. In case something goes wrong, and the cable sheers, should the run be 1 longer cable or 2 smaller ones? 1 longer cable is more of a faff to run, but requires a full replacement if it breaks. On the other hand, multiple means I can replace just a small part, but is more expensive requires couplers, which are a bit of a bodge. Whilst my original plan had been to use 2 cables, I ended up using a single cable, with couplers on either end to make rearranging things on each end far simpler. That makes it more akin to a cable in the wall rather than having to redo everything if I were to put the switch on the other end of the desk.
#Attachment
I know the route, and I have the cable, all that remains is keeping it in place. The cable needs to be held in place both so it doesn't move, but also to keep it snug to the surfaces it's running along to avoid becoming an eye-sore and affecting the all-important SO-approval factor.
For a long-term deployment, I'd recommend using nails (the cable I ordered helpfully came with some), which cling onto the cable far tighter, won't move, and are often easier to install. But again, being in a rental, that isn't an option. Instead, I'd need something adhesive, but not so strong that it'd take the paint with it when it was time to remove everything. There are very few points where the clips need to hold the weight of the cable, and even there I can double up easily enough. So cheap clips are an option, with their weak adhesive.
I opted for some low-profile adhesive clips, clearly designed for flat cables. The fit of them is perfect. They're small enough to run along the edge of a door frame without sticking out, grab the cable tight enough that it doesn't move, and use a simple adhesive foam pad, which should come right off when it's time to remove the cable. They also come in large quantities, so I can afford to be liberal when working out where to put them.
#Deployment
Once ordered, everything took a couple days to arrive, and then it was showtime! I knew what needed to go where, how to run the cable, I just had to do it. Once I finished work, I started running. In total, the process took around 40 minutes, with a little faffing.
As expected, the adhesive on the clips was pretty bad. Once I cleaned the surface, it was ok, but under much stress they do come off quite easily. Fortunately they're never under stress now they're installed, and being easy to remove without damage is definitely a feature. But when trying to run the cable, it made keeping it in place more difficult. Once the clips are ripped out of place, there's not much adhesive left to stick it back into place.
Maths was never my strong point, and yet despite giving myself over metre of wiggle room, and rounding all my measurements up, the cable was still not quite as long as I expected. This isn't an issue, as the couplers still ended up in sensible places so I could attach the final ends of the wires, with ample slack on either end, but it's still very confusing.
Something I'd not considered about flat cables: their bend radius. Flat cables fold incredibly easily and with a radius far smaller than a conventional round cable. However, they absolutely hate being turned, which I needed to do in a few places. In the end, it was possible to twist and fold the cable to do the bends, but that adds more stress to the already-weak clips, so needed some persuading.
#The door
The most horrible part of the deployment was without a doubt the office door. To save time, I elected to traverse the wall here, so there's a lot of weight on a single point, which then need to quickly turn to pass under the top of the door. It looks horrible, it feels horrible, and frankly it is horrible. But for now, it's fine. When it starts causing issues, I'll probably move it to running across the skirting board like the other cables instead, but that's a job for another day.
#Testing
With the cable deployed, it was time to test. Whilst the aim of this was strictly about speed (or value for money technically), an improvement in latency would also be nice. Something rarely mentioned when it comes to powerline is the additional latency the adapters create, even when there's nothing else on the powerline network. Pinging the router from my server used to take 4.5ms, which could be 50% of the round trip time for some connections.
After the change, my ping times decreased massively, from 4.5ms down to 0.8ms - a great result. Even my DNS pi sat right next to the router can't do that fast (it is a "Raspberry Pi Model B" though, the one with composite video and full size SD).
And the kicker: download speed. Previously topping out at around 250MB/s, I was now getting consistent ~800MB/s with speedtest-cli, and could fully saturate the line when performing package updates. Exactly the improvement I was after.
Because these numbers fluctuate so much during measurement, there wasn't a noticeable change in any of my monitoring - checks were taking about the same amount of time. The graphs however do look significantly less spiky than they used to, which is definitely an improvement. Each packet is sped up by about 2ms, which will make a difference somewhere, even if I can't observe it.
So wired networking has been significantly improved - but what about wireless. I spend a lot of my time on the sofa on my laptop (it's where I'm sat as I write this sentence), so wireless performance is still important, even if less so. Here, as expected, the bottleneck is the wireless itself. I can get around ~450MB/s download from the internet, and roughly similar to my server. But that's about what it used to be - so there's no change here. Wireless will always be the bottleneck in a network (until I move away from the ISPs router, that is).
#Review
Was this worth it? Well I spent an hour or so planning the route, under an hour looking for parts, 40 minutes installing it, and about £25. To me, it's well worth it, and something I wish I'd done a long time ago, or even when we moved in. I'm happy, the SO is happy, and the people externally who use my server can't really tell the difference. Powerline is great when you want more reliability than WiFi, but can't install a wire. However it just can't compare to running a wire yourself, and I don't think it ever will.


